

Hi everyone,
You might remember the hand-bound notebooks that I wrote about for the May newsletter—the ones we’d gifted to the second years that graduated.
When I was getting started with bookbinding, I found it really confusing to figure out what tools I needed (which ones were required and which were optional? and what did they all even do?) and how to actually get all the pieces of paper together into what could reasonably be referred to as a “book” (what the hell is a Coptic stitch, and is the same as or different from an Ethiopian stitch? and which do I want to use and why?).
So after a year of bookbinding (and a rewatch of How To with John Wilson), here’s my guide.
I’ll be breaking this series into two parts: part 1 for the tools and part 2 for the instructions. <3
*
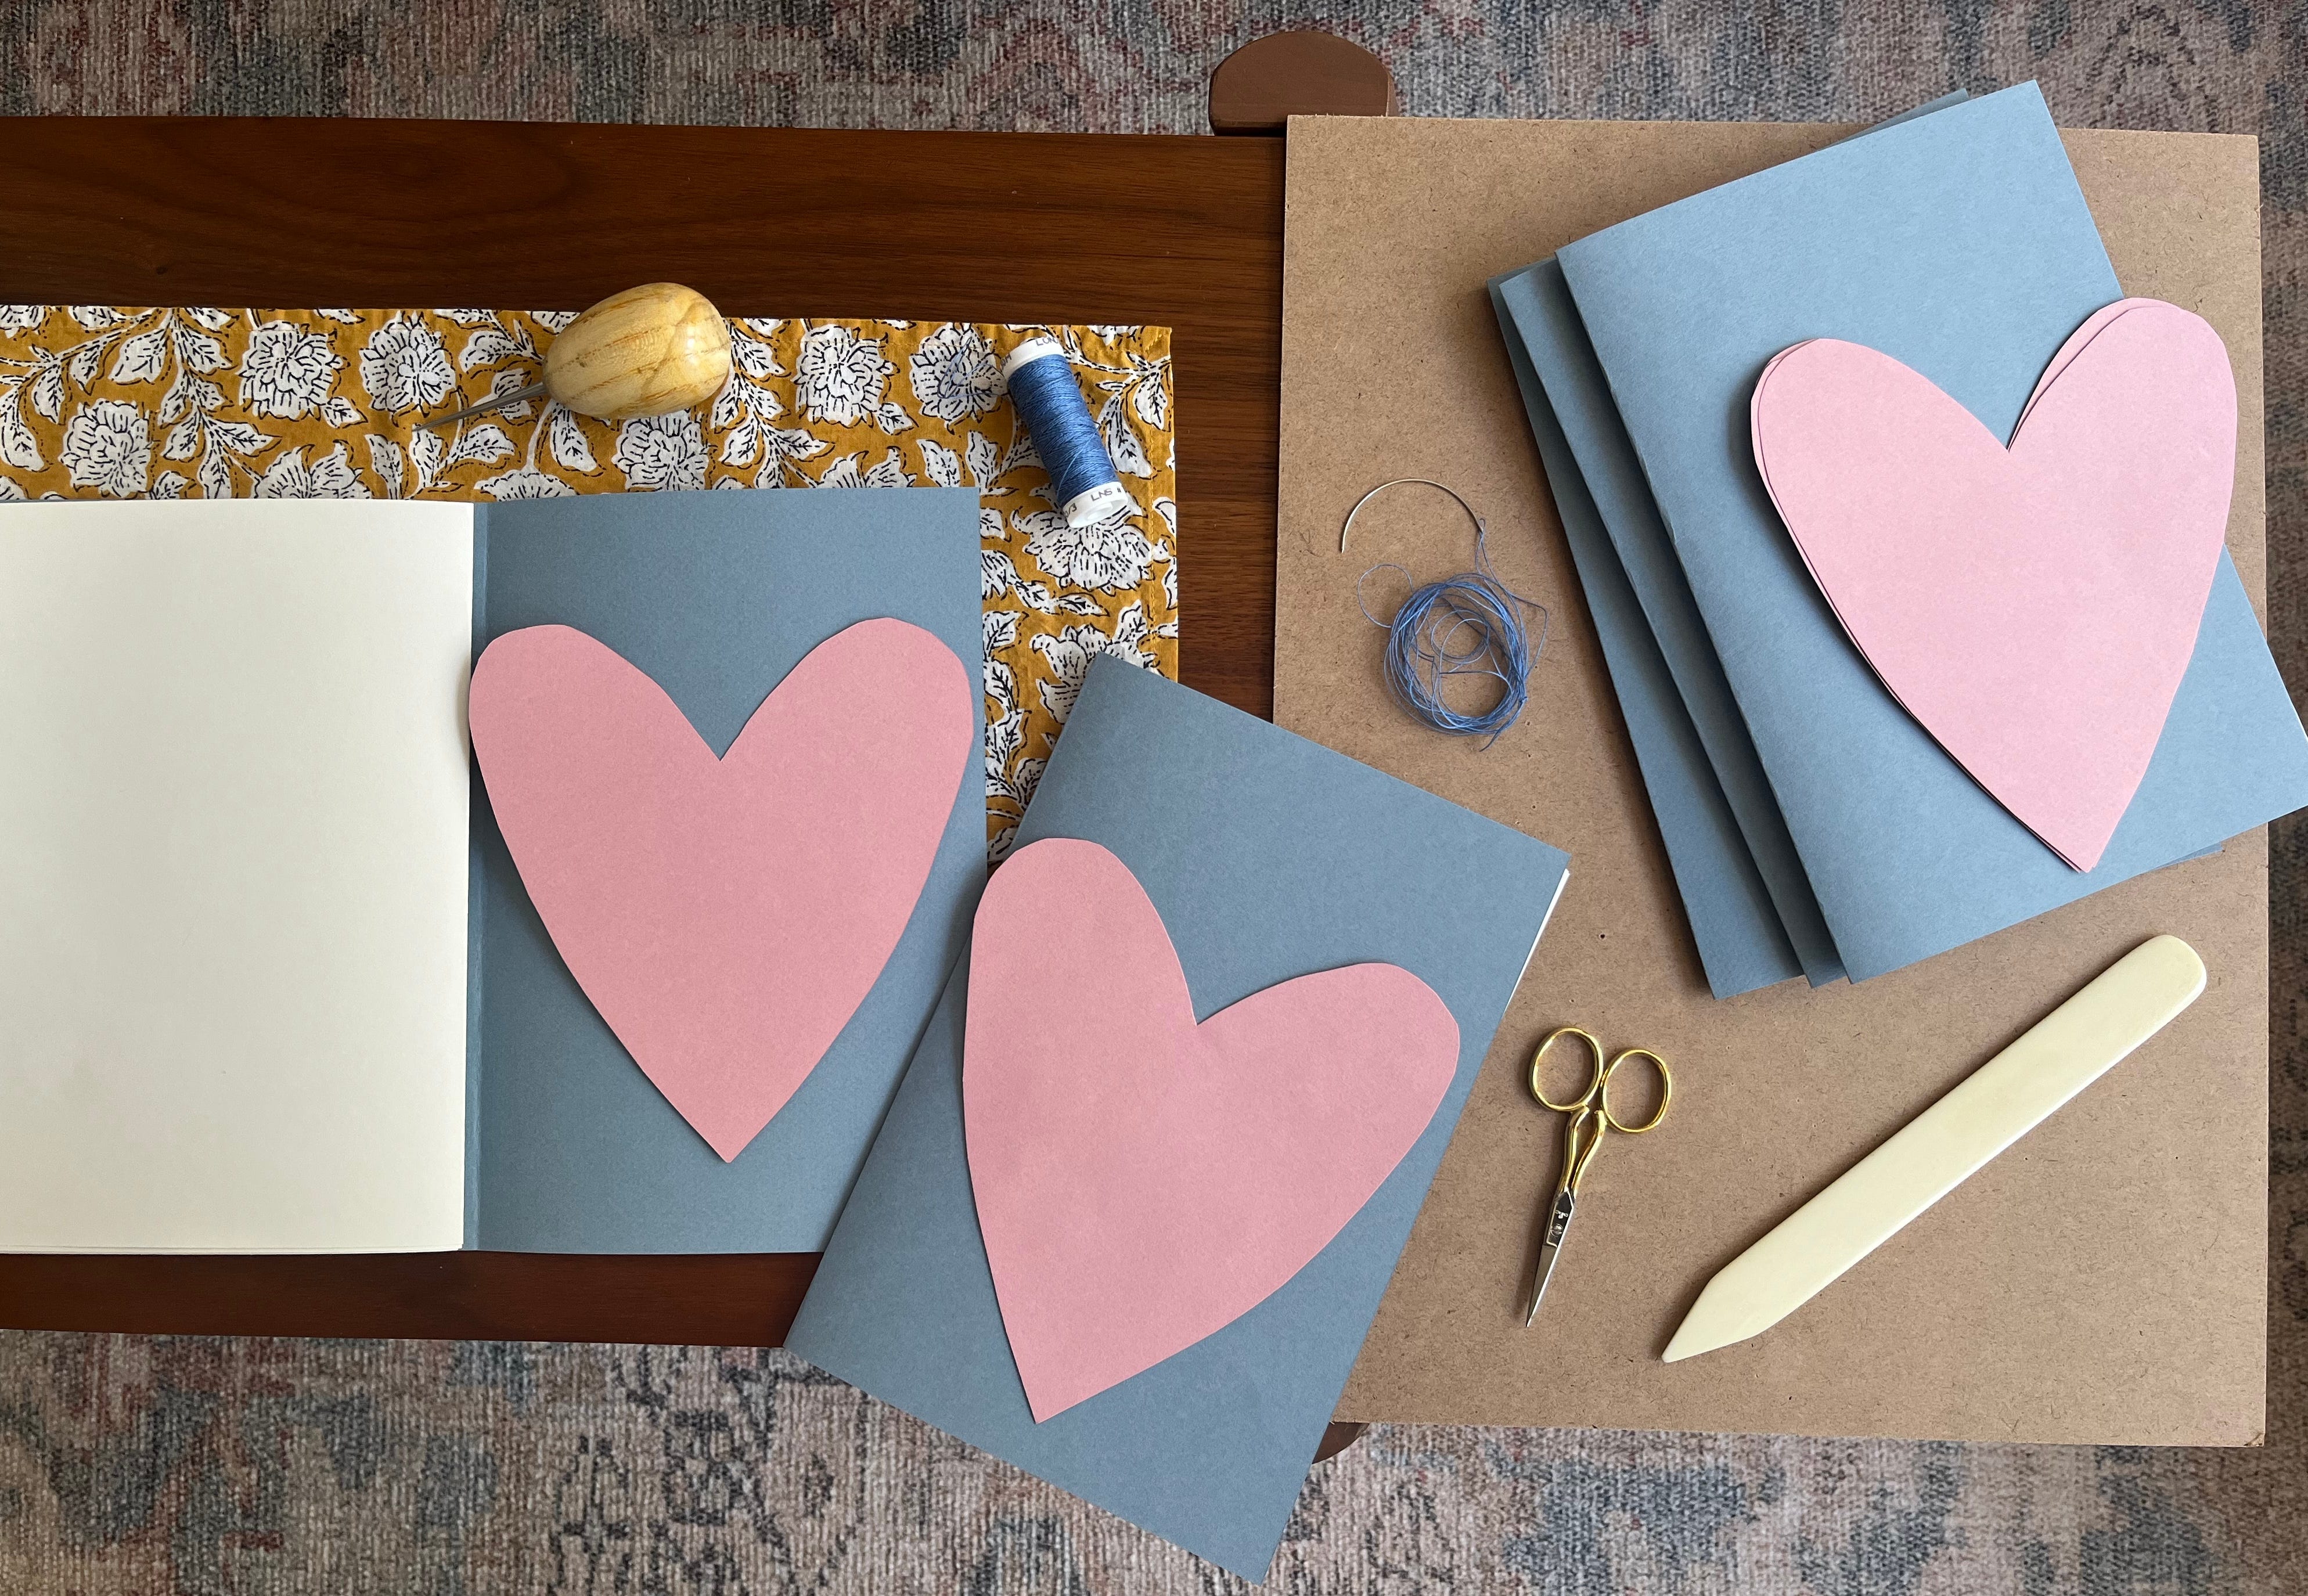
Basic tools
Awl: I’m a fan of the fat round ones, because if you’re stabbing through a lot of pages, they’re more comfortable to press down on. I have the Lineco extra heavy duty ball-handle awl.
Needles: The type of needles you’ll need will depend on the type of binding you plan to use. For most bindings, especially when you’re first getting started, straight needles are likely what you’ll want. There are some bindings, though, like a Coptic stitch, where curved needles might come in handy, or are even required. Curved needles can be a little trickier to use, so straight needles are typically considered best for beginners.
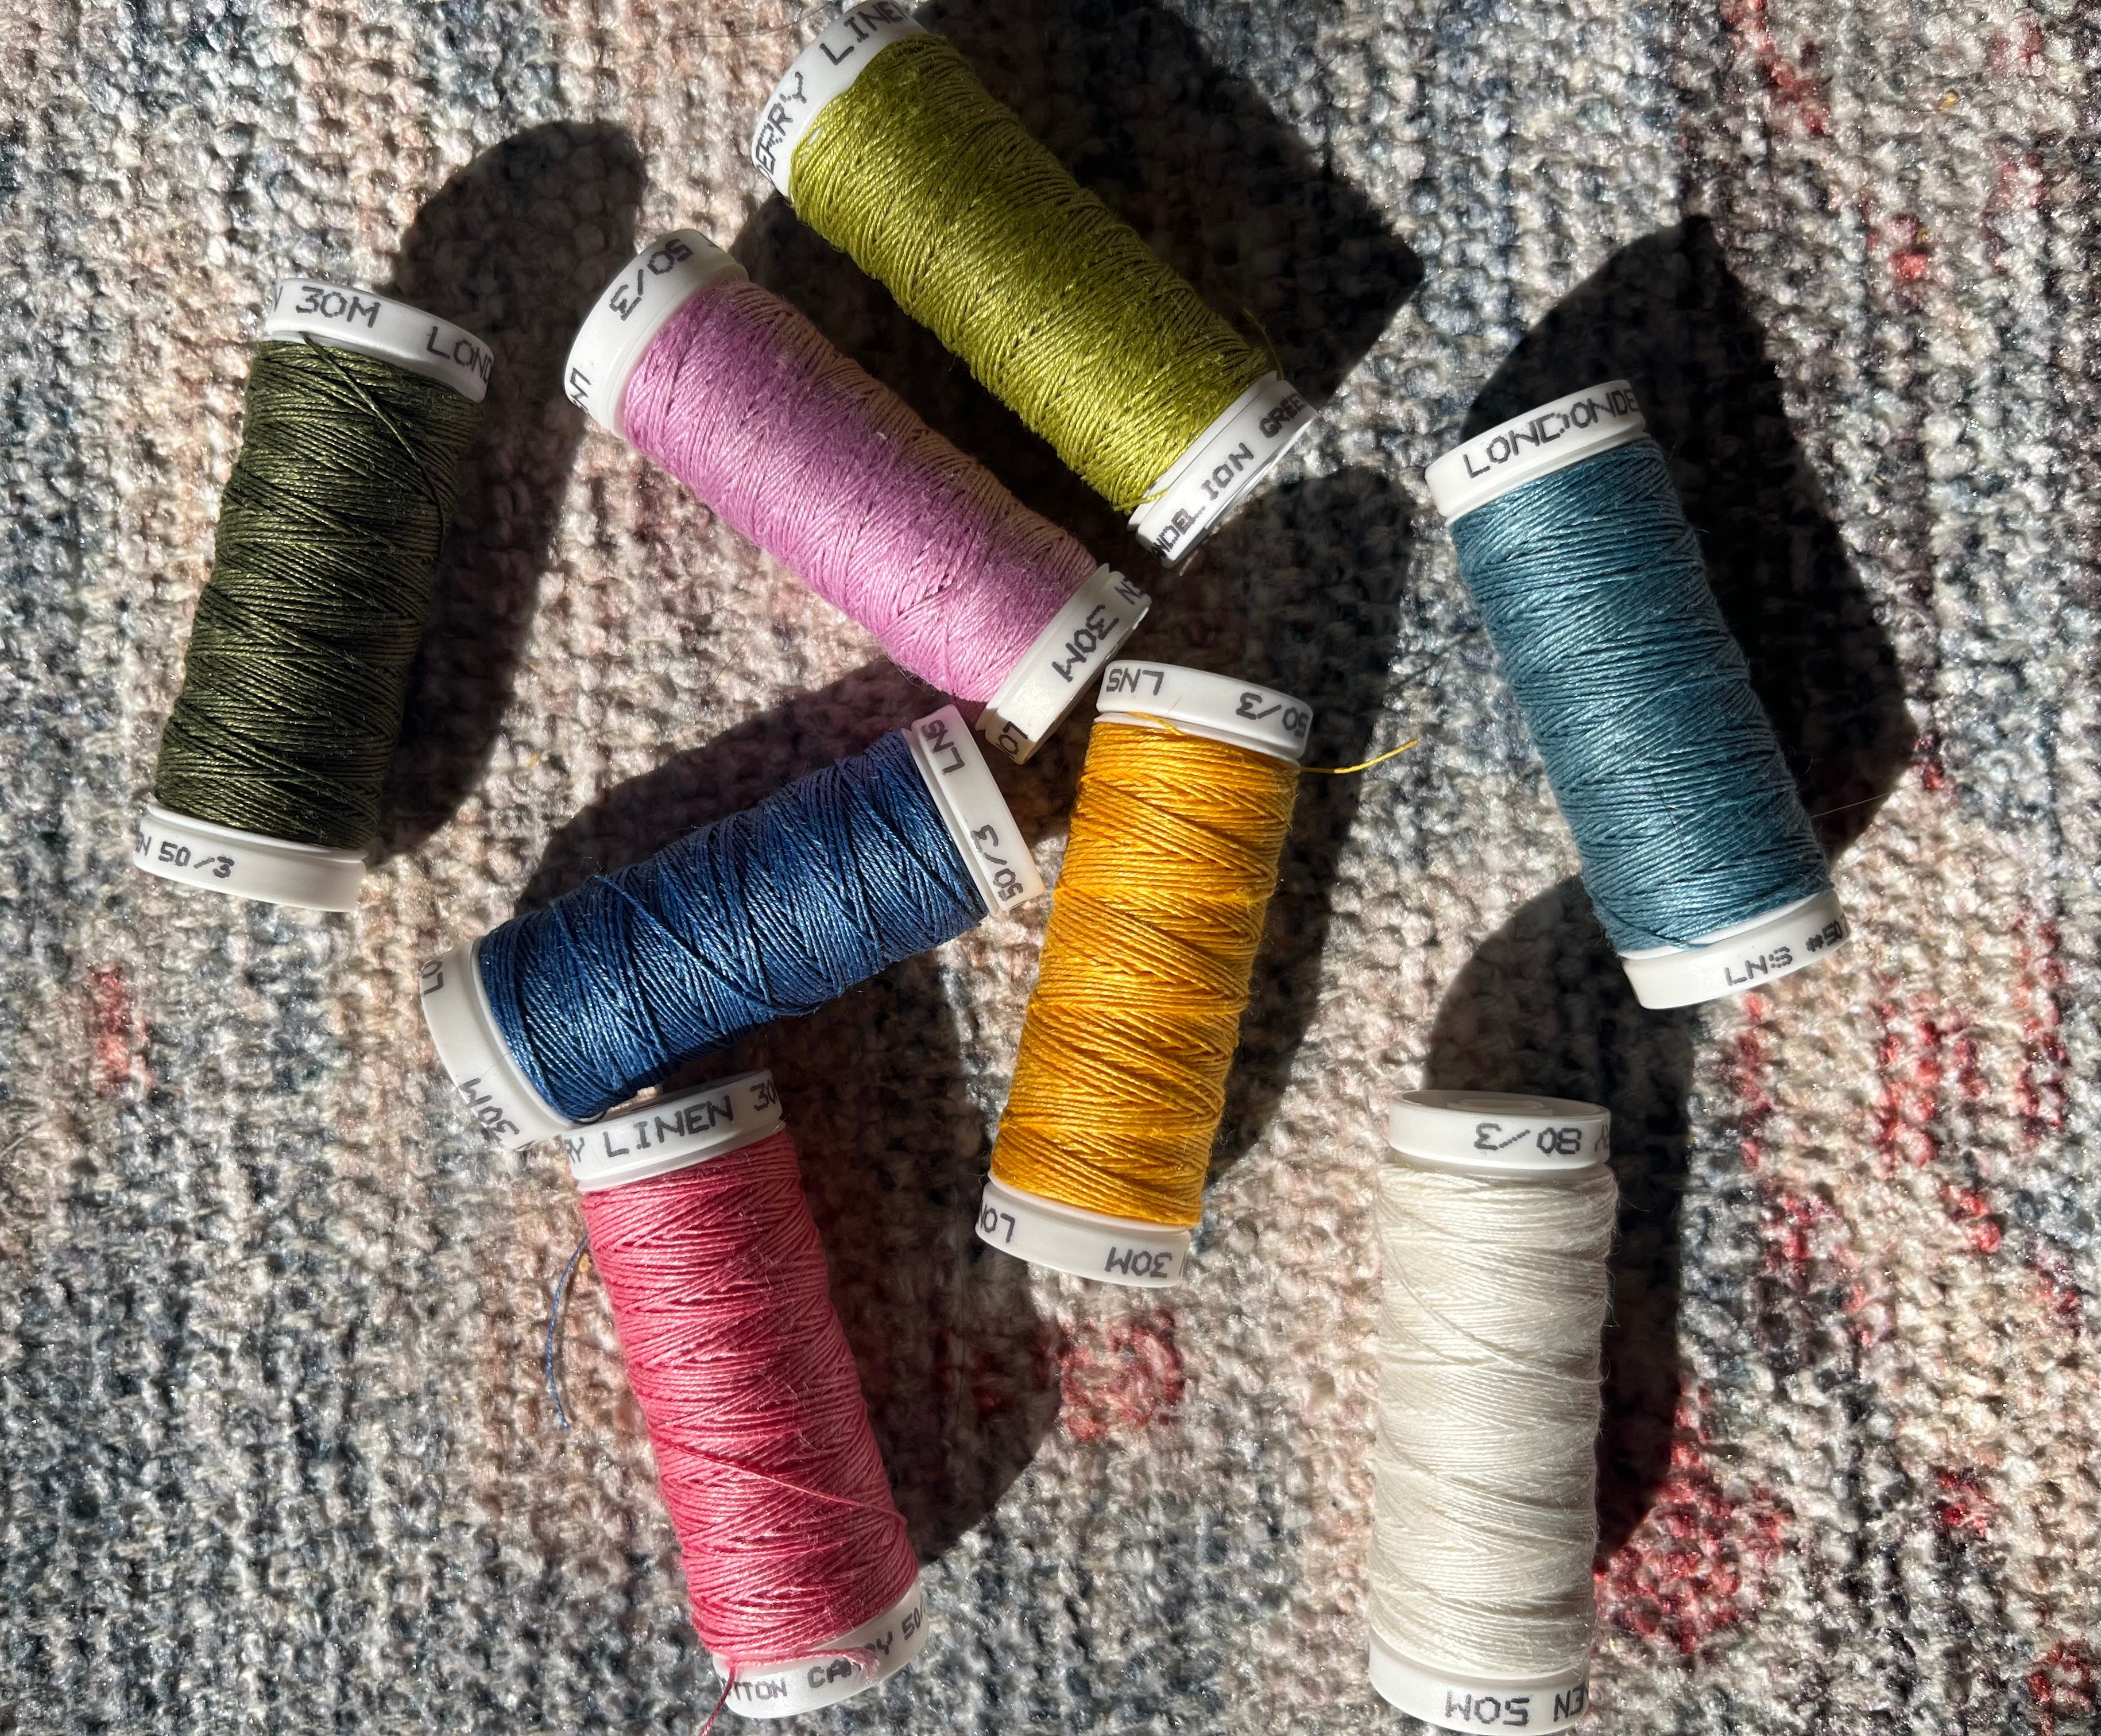
Thread: In bookbinding, you want to use linen thread, and Londonderry’s linen thread is my favorite one ever (yes, I’ve tried several). It’s easy to work with, comes in several sizes (I use the 50/3 size), and comes in a huge range of colors that’s hard to find with most other brands. Dandelion, Cornflower, and Jonquil are particularly stunning.
Small & super sharp scissors: You want them tiny and with pointed ends so that they can reach into tight crevices. My gold and silver ones are likely from Goods for the Study—I got them forever ago—but these would also be an excellent choice.
Paper cutting: You’ll need something to cut paper down to size (unless you like the “raw” look of hand-torn edges) and no, scissors won’t cut it (ha). I prefer to work with guillotine-style trimmers. Right now I have a plastic one that I bought at a dollar store, which gets the job done, but I’d love something heavier duty, like this X-Acto trimmer. A cheaper and more space-efficient alternative would be to use a mat and blade—either a traditional utility-style knife or a rotary blade.
T-square: I’d recommend going a step above a regular ruler and investing in a T-square, just because they’re helpful for alignment. Mine is from Alvin.
Pencil and eraser: You’ll want a pencil for marking cut and fold lines, and an eraser for the inevitable mistakes you’ll make. I could write an entire newsletter on pencils and erasers, but I’ll just give you my absolute favorites for now: Blackwing matte blacks (because I’m a snob) and Paper Mate pink pearl erasers (because I spent all my money on the Blackwings—JK, it’s because they’re equally amazing).
*
Optional tools
Paper folder: Helpful in making precise creases and also for preventing skin irritation if you’re folding a lot of paper at once, paper folders are also often called “bone folders,” as many are made with real bone. I like the “classic” shape—round on one end and pointed on the other.
Working board: This Richeson panel, though unassuming, is one of my favorite “tools.” I don’t know how else I’d work with an awl without this—I’d have destroyed my desk by now. A piece of cardboard would also suffice, though. Really, you just want a barrier between the awl and whatever surface you’re working on.
Beeswax: Some people like to use beeswax to coat their thread before they start binding, as they say it helps keep the thread from tangling. Personally, I find that going slower helps to avoid the tangles, and then there’s no need for concern about the beeswax melting in the heat and staining the papers.
Stapler: If you’d like to avoid sewing all together and you’re ok with the more rugged look of a stapled saddle stitch, you could always use a stapler instead. This would negate the need for needles, thread, beeswax, and an awl. Just make sure to pick one that opens up.
Heavy-duty bulldog clips: I’ve bound many books without clipping the pages together for the process, but they always look nicer when I do. These ones from X-Acto are perfect.
A small bin: For many months, I was storing all my small bookbinding supplies in an old cardboard box. It was ugly, clunky, and falling apart. I finally spent the $8 to upgrade to a proper storage bin, and it’s much nicer. If you have some more crafting or office supplies that are also in need of an organizer, I’d recommend this Ikea basket-thing instead—all the little compartments are great for keeping everything in its place.
*
Paper
This is undoubtedly my favorite part of book-binding—picking the paper. To me, this is the entire reason to make your own notebooks in the first place—complete control over the medium. Of course, depending on the paper you choose, there can also be a cost-saving element to it, too, which is nice, especially if you go through notebooks a lot of notebooks.
Best budget/all-purpose paper
Blick’s sulphite drawing papers are unbeatable for the price. $3.42 for a 100 sheet-ream of 9x12 60 lb paper? Or just 50 cents more for the 80 lb version? And we’re not talking printer paper-quality here. This paper is super lightweight, super creamy, and has a bit of a tooth. It’s lovely for pencil and pen alike, and works nicely for both writing and sketching. Blick claims it can also be used for charcoal and pastel. I haven’t tested that, but if that’s true, then wow, show me a better paper for an even remotely comparable price! A weird plus is that it’s super smooth on the fingers, so much so that you can fold 90 sheets of it back-to-back without any skin irritation (that I have tested). Fair warning: I work with the 60 lb paper and it’s a little delicate. Consider starting with the 80 lb one if you’re a beginner—its heavier weight is more forgiving if you’re a little tight on the tension.
Best for drawing
I have several recommendations here.
For more of a budget option, I really love Strathmore’s 300 series bristol paper. It works nicely for both pencil and pen (and apparently marker, too) and it has a really substantial feel to it.
Legion’s stonehenge paper is a great all-purpose dry media paper. It comes in two heavy weights, is made with 100% cotton, and comes in a great color range.
Lastly, Hahnemühle’s ingres paper. This paper makes me wish I worked with charcoal or pastel. I bought it only to make a notebook for a family member who works in those mediums, and ugh, I felt so jealous. I just love the way it feels. So lightweight, super toothy, and it comes in a great color range.
Best for watercolor
Of course the best watercolor paper is Arches—I’m not here to debate that. But I can’t see a reason for buying their single sheets to sew into a book when you could just buy their pads for less money. So when it comes to watercolor papers that aren’t incredibly expensive, Canson’s watercolor paper is great for beginners and for practice.
Best for calligraphy
It’s pricy, yes, but there’s no paper out there with the same hand-feel as Arches text wove paper. It’s creamy, has a slight woven texture, is made with 100% cotton, and your ink will not feather or bleed. This is definitely not an “everyday notebook” kind of paper, but it’s certainly special.
Cover papers
I make nearly all of my notebooks with Canson’s mi-teintes drawing paper. It’s affordable, it feels substantial, the color range is great, and it, too, can be drawn on with a variety of media—I typically use rubber stamps and water-based ink to decorate my covers. A while ago I bought 10 large sheets of the light blue color because it’s simply the perfect blue—it’s gender neutral, and grown-up but not boring. Violet and orchid are also great and very saturated.
For something a little more special, I bought this marbled paper (again, for that family member who works in charcoal—I really knocked it out of the park with that gift). It’s as beautiful in person as it looks online, and I’d absolutely buy more of it for special gifts.
Note that these are paper covers, and like a paperback book when compared to a hardcover, they’re flexible and bendable and foldable. That means that if you’re the type to toss everything into a bottomless tote bag, these notebooks won’t hold up very well. I mostly keep mine at home on my desk. When I want to take one with me, I slip it into whatever book I’m reading at the moment for protection.
Ok, those are all of your tools! With all of the above, you’re ready to get started.
Part 2 of this how to series, on how to actually assemble a notebook, will come in two weeks, giving you just enough time to order your supplies ;)
Lots of love,
Arielle
Niecey!! What a great post! I️ LOvE making homemade books. So proud of you.
How interesting—I love hand made notebooks and always wanted to make my own. And I finally signed up for a class on the 29th, so I hope I can make it!
Can’t wait for part 2!