

Hi everyone,
First, if you missed part 1 of this how-to series, which covered the tools I recommend for bookbinding, you can read it here.
All caught up? Great, let’s dive in.
Pick a size
I usually go for about a 5” x 7” book, since this is about the size—though a little smaller—than the average softcover. Sometimes I make super miniature ones, though, which are great for miscellaneous notes, and I’ve made ones as large as 9” x 12” for drawing.
Mark your interior papers accordingly once you’ve decided one a size, and when marking your cover papers, give yourself some extra allowance length-wise. Since I’ve been doing saddle-stitch bindings lately, which cover the spine, as opposed to some other bindings which leave an exposed spine, I need the extra allowance to account for how much spine the paper will have to cover. The booklets I make are all around 30 pages, so a half inch to an inch of allowance is fine. When in doubt, give yourself a little extra and just cut it down at the end if it’s too wide.
Cutting down to size
Once you’ve marked all your papers, it’s time to carefully cut them down to size. Again, I use a guillotine-style trimmer, but you can also use a cutting mat and blade. Just be sure to follow the age-old carpentry adage of “measure twice, cut once.”
Bindings
Before you can move forward, you first need to determine what kind of stitch you’re going to work with. Below are some videos to introduce you to the different stitches I’d recommend, in order of easiest to hardest.
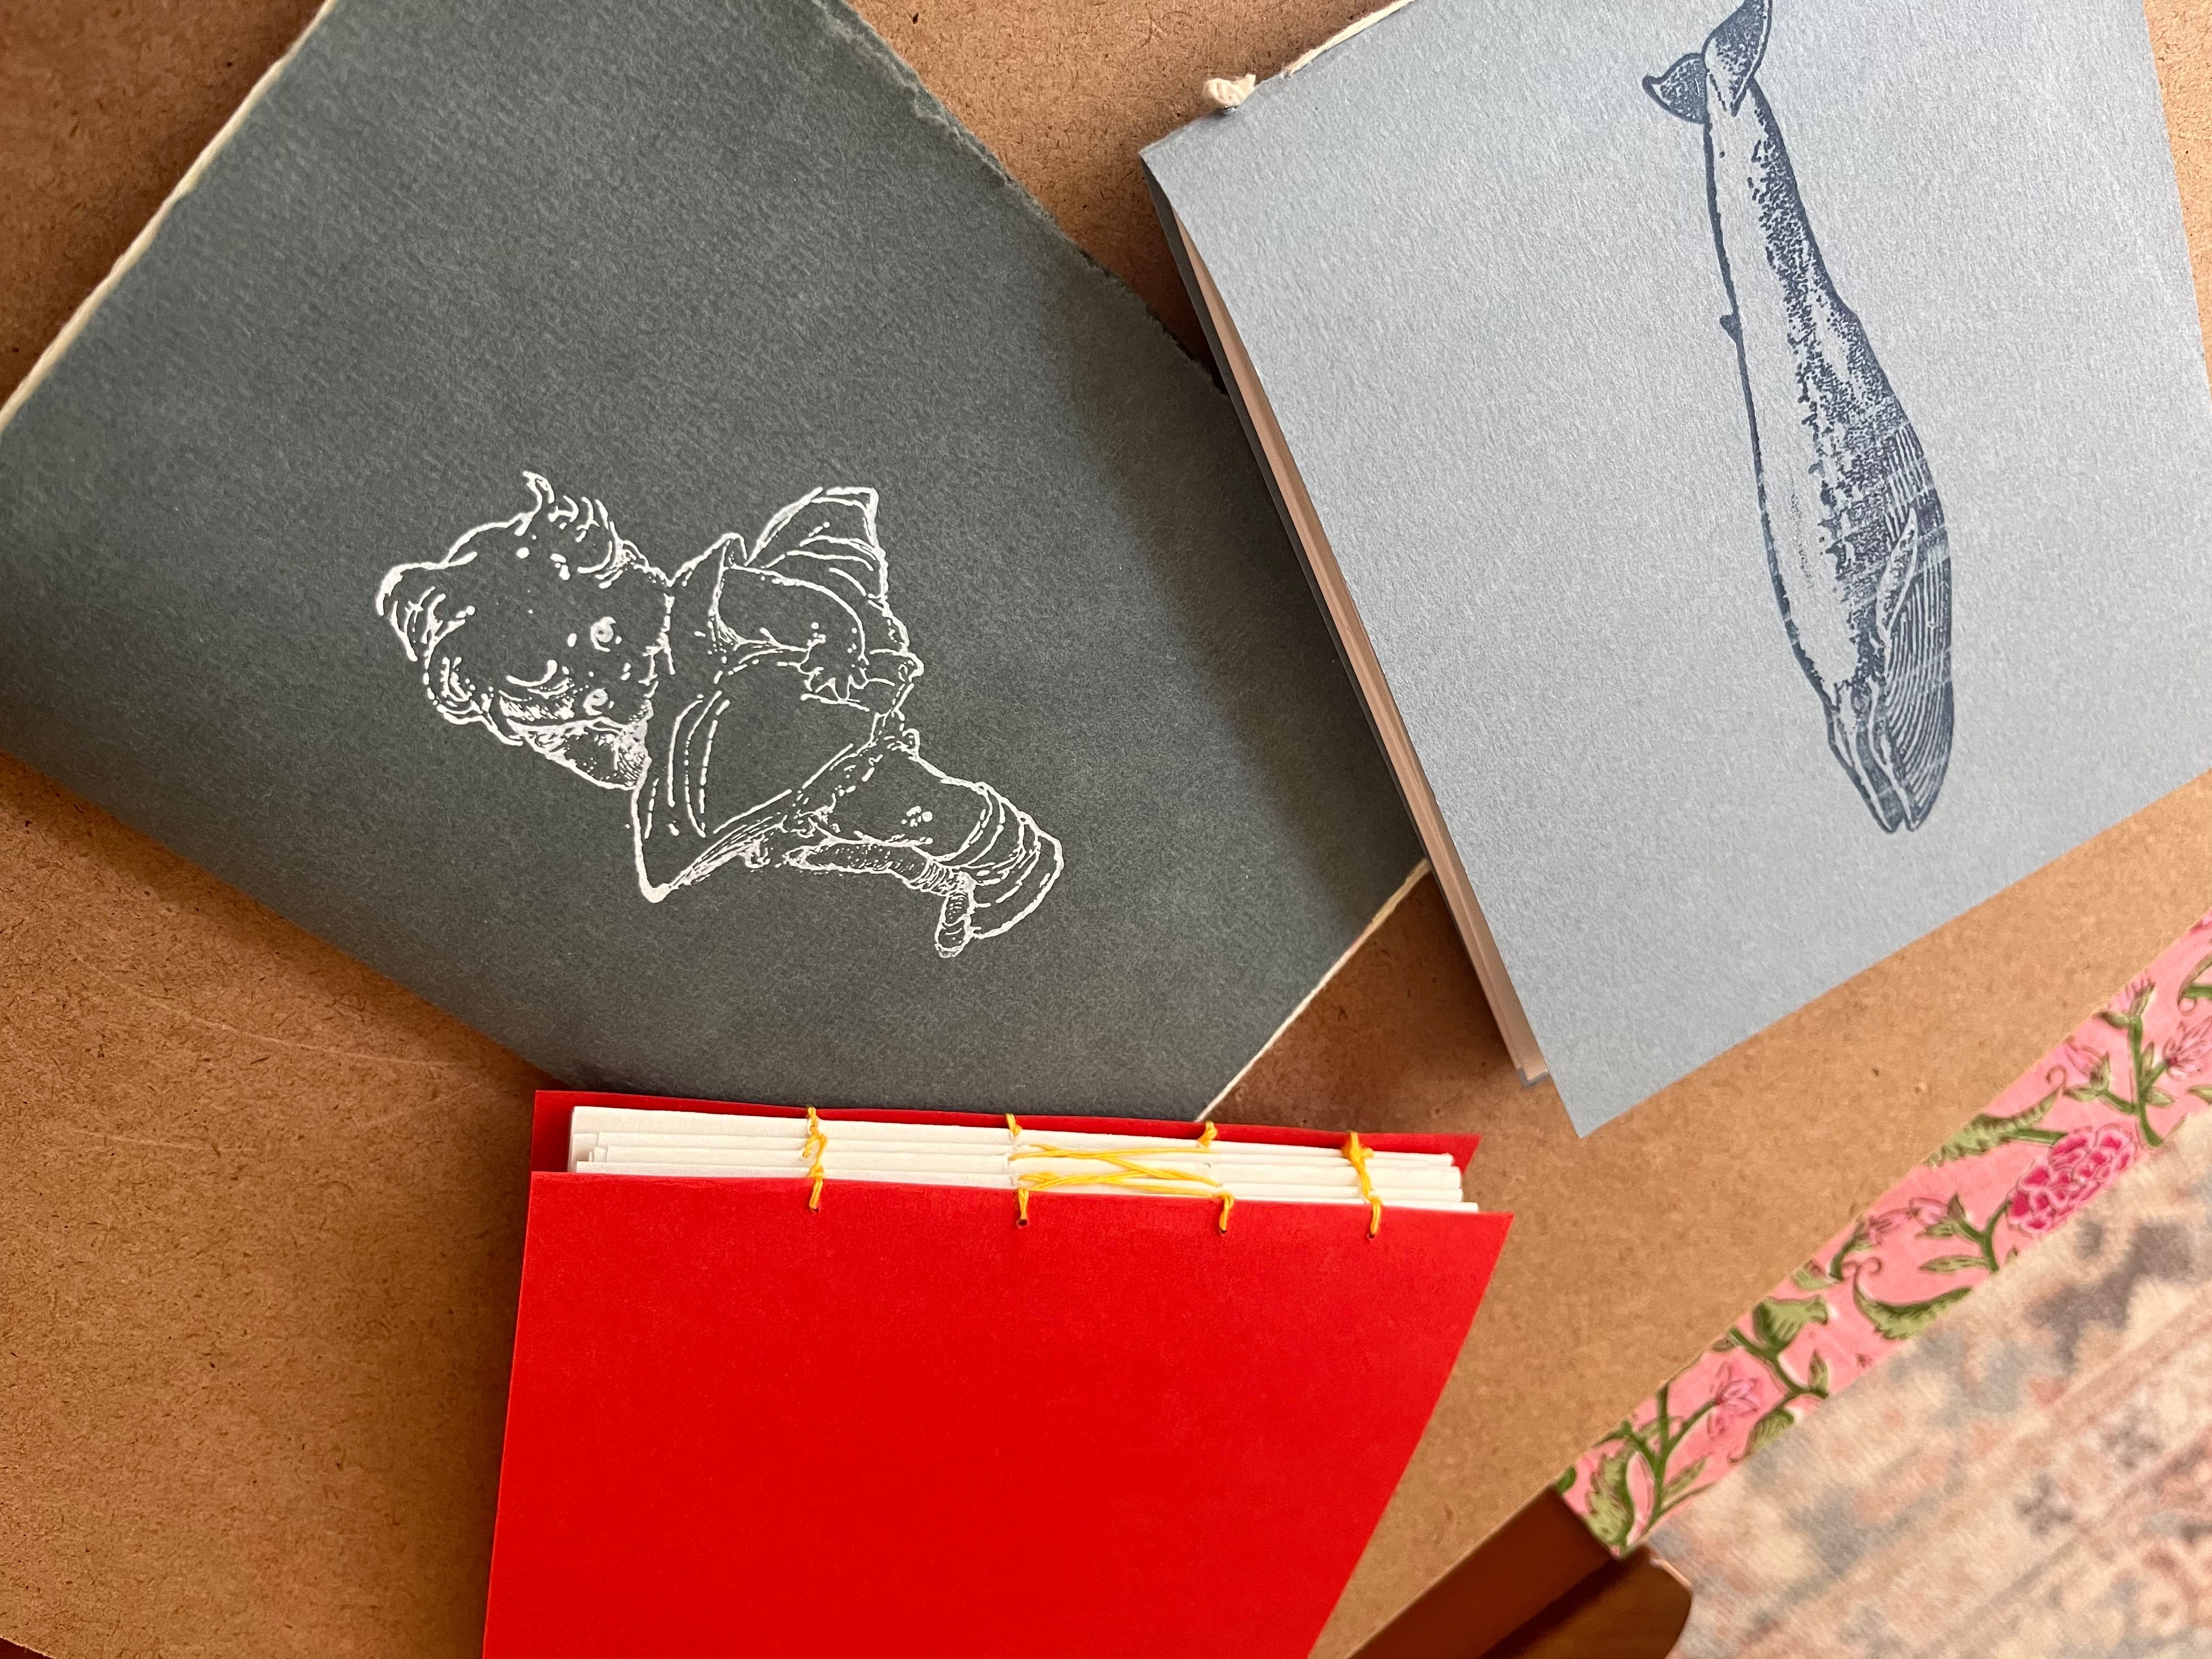
Single section bindings: This includes bindings like the simple pamphlet stitch, the Singer sewn-like stitch, and some more decorative ones. In these kinds of bindings, you’re sewing in one big section, which is much quicker and easier than sewing in “signatures.”
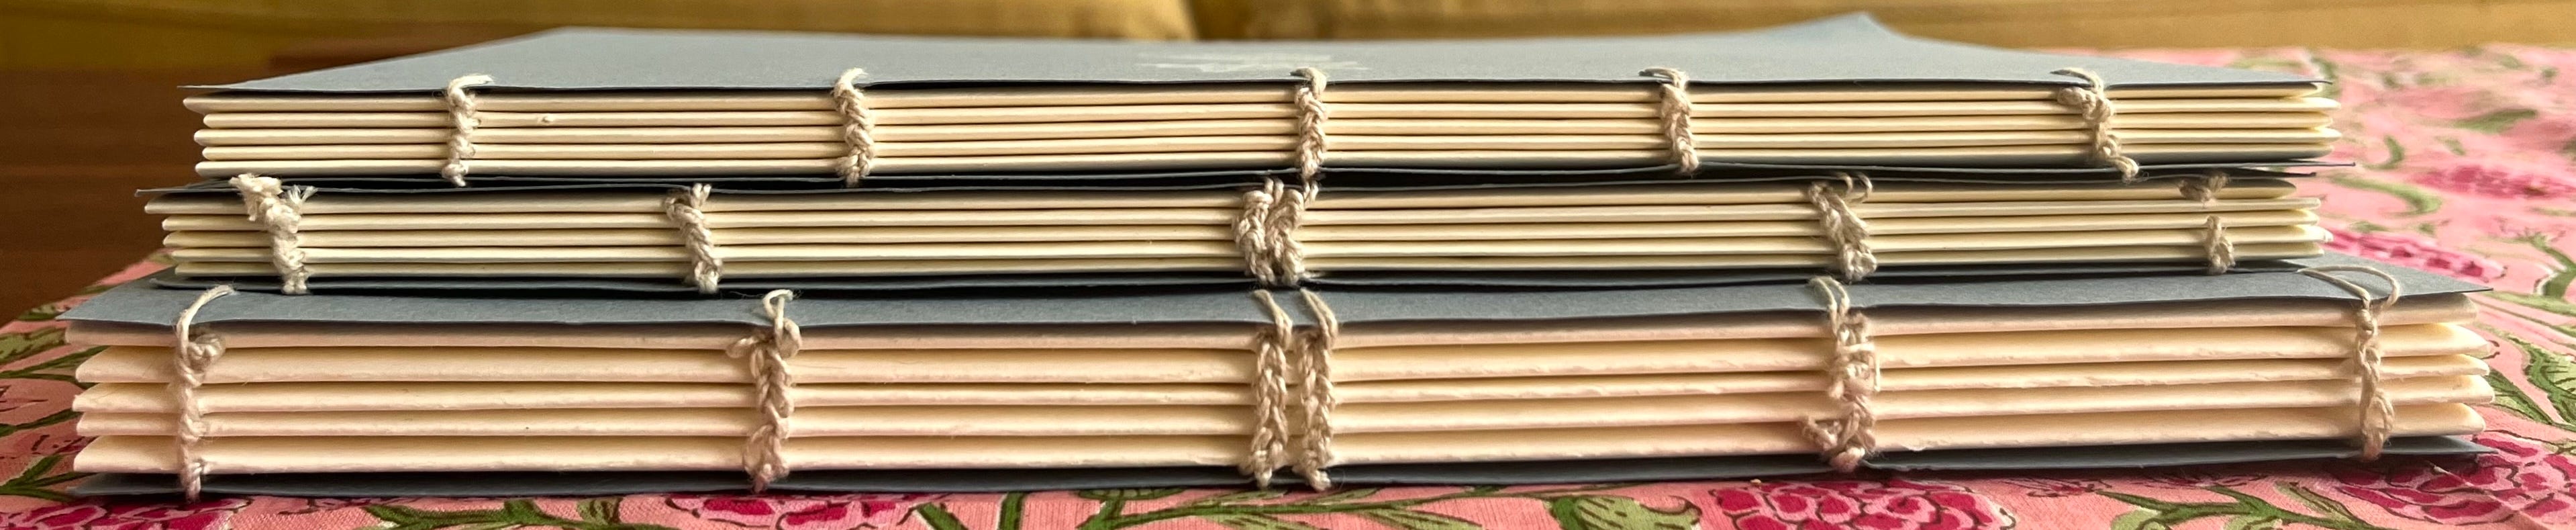
French link stitch: Low(-ish) effort and high reward!
Coptic/Ethiopian1 stitch: This was the stitch that I first started out with, not realizing how difficult it is. It’s hard mostly just because any uneven tension during the process has a large effect on the end result—it creates wonky lines.2 When you’re just getting started, especially if you’re new to sewing in general, it’s best to start with something a little more forgiving.
Hole punching
Once you’ve deciding on a stitch, you’ll need to measure out where to make your awl points for the needle and thread to pass through. Exactly how many holes you’ll need and the spacing between them will depend on the stitch you’ve chosen, so pay close attention in the videos above.
Mark all your papers and align them to double-check that everything lines up, and then go ahead and punch the holes in.
Measuring out your thread
My general rule of thumb for figuring out how much thread I need is:
Thread needed = ((height of the book * 2) * (however many signatures I’m sewing + 1))
Remember, if you’re working with a single-section binding, then your number of signatures is 1.
If you underestimate how much thread you need, it’s fine, because you can always tie on more thread. And working with too much thread makes things inordinately difficult because it leads to lots of unnecessary tangling. The above formula is one that I’ve found works well without creating much waste, but everyone has their own preferences here.
Sewing
Go slow and steady when you’re first starting out. If you’ve messed up in some sort of colossal way, like I did (do…) all the time, don’t afraid to cut the thread, pull it all out, and start again.
It’s a little like knitting, in that you can always put it down, (if you have a pet, put it up) and come back to it later, squeezing it into your life whenever you have the time.
Before you know it, you’ll have little notebooks all over your house the way you seem to collect lip balms—stored at your desk and your bedside table and in your purse and near the TV.
Thanks for reading,
Arielle
There’s a lot of disagreement about the correct terminology and differences between the two stitches. Still, the two terms are often used interchangeably.
See my first photo in this post for proof, LOL.